Mac's native screen recording tool, the Screenshot Toolbar, is an ideal choice for users looking to capture moments or share information, be it for creating tutorials or troubleshooting. Introduced with the macOS Mojave release in 2018, the Screenshot Toolbar has been a consistent feature in subsequent macOS versions. This tool allows users to record their screens through the use of key commands. Please find detailed instructions below on how to utilise the Screenshot Toolbar to execute various screen recording functions on MacBook, iMac, Mac mini and Mac Studio using the Screenshot Toolbar.
How to record the entire screen
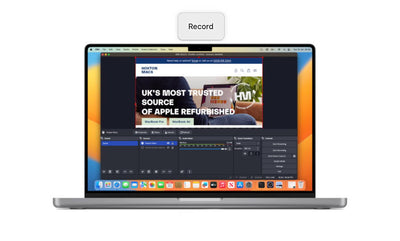
1. Press Shift + Command ⌘ + 5 to open the Screenshot toolbar.
2. Select Record Entire Screen.
3. Select Record.
4. To stop recording press Stop in the Mac menu bar.
5. The screen recording will now be saved to your desktop.
How to record a portion of the screen
1. Press Shift + Command ⌘ + 5 to open the Screenshot toolbar.
2. Select Record Selected Portion.
3. Move and manipulate the record box around what you would like to capture.
4. Select Record.
5. To stop recording press Stop in the Mac menu bar.
6. The screen recording will now be saved to your desktop.
How to Screen record with audio
Recording your screen with external audio through the built-in microphone is especially valuable when producing tutorials or game walkthroughs. Wondering how to screen record with audio? Check out the instructions below to learn how to utilise the screenshot toolbar for this purpose.
1. Press Shift + Command ⌘ + 5 to open the Screenshot toolbar.
2. Select Record Selected Portion or Record Entire Screen.
3. Click Options then select your Microphone.
4. Select Record
How to Screen record with quicktime
An alternative method for screen recording involves utilising QuickTime Player, a pre-installed video editing software on macOS. Below, you'll find instructions on how to use QuickTime Player for screen recording.
1. Open QuickTime player.
2. Select File in the menu bar, then select New Screen Recording
3. To stop recording press Stop in the Mac menu bar (top right corner of your screen).
How to screen record with a third party application
While the ScreenShot Toolbar and QuickTime Player are suitable for basic screen recording, individuals aiming to stream or produce high-quality YouTube videos may find a third-party application more fitting.
OBS
OBS (Open Broadcaster Software), used by professional content creators, is free to download and open source. OBS offers real-time video/audio capturing/streaming and mixing capabilities. It allows users to create scenes with multiple sources, such as window captures, images, webcams, and more. The software supports unlimited scenes with transitions, and its intuitive audio mixer includes per-source filters like noise gates and suppression, providing full control with VST plugin support. The configuration options are both powerful and user-friendly, allowing real-time adjustments and the addition of new sources. The Studio Mode enables scene and source preview before going live, while the Multiview feature allows monitoring of eight different scenes for efficient production control. OBS supports various streaming platforms including Kick, Twitch and YouTube. Overall, OBS is a versatile tool for creating professional and polished video productions with ease. Download OBS, here.